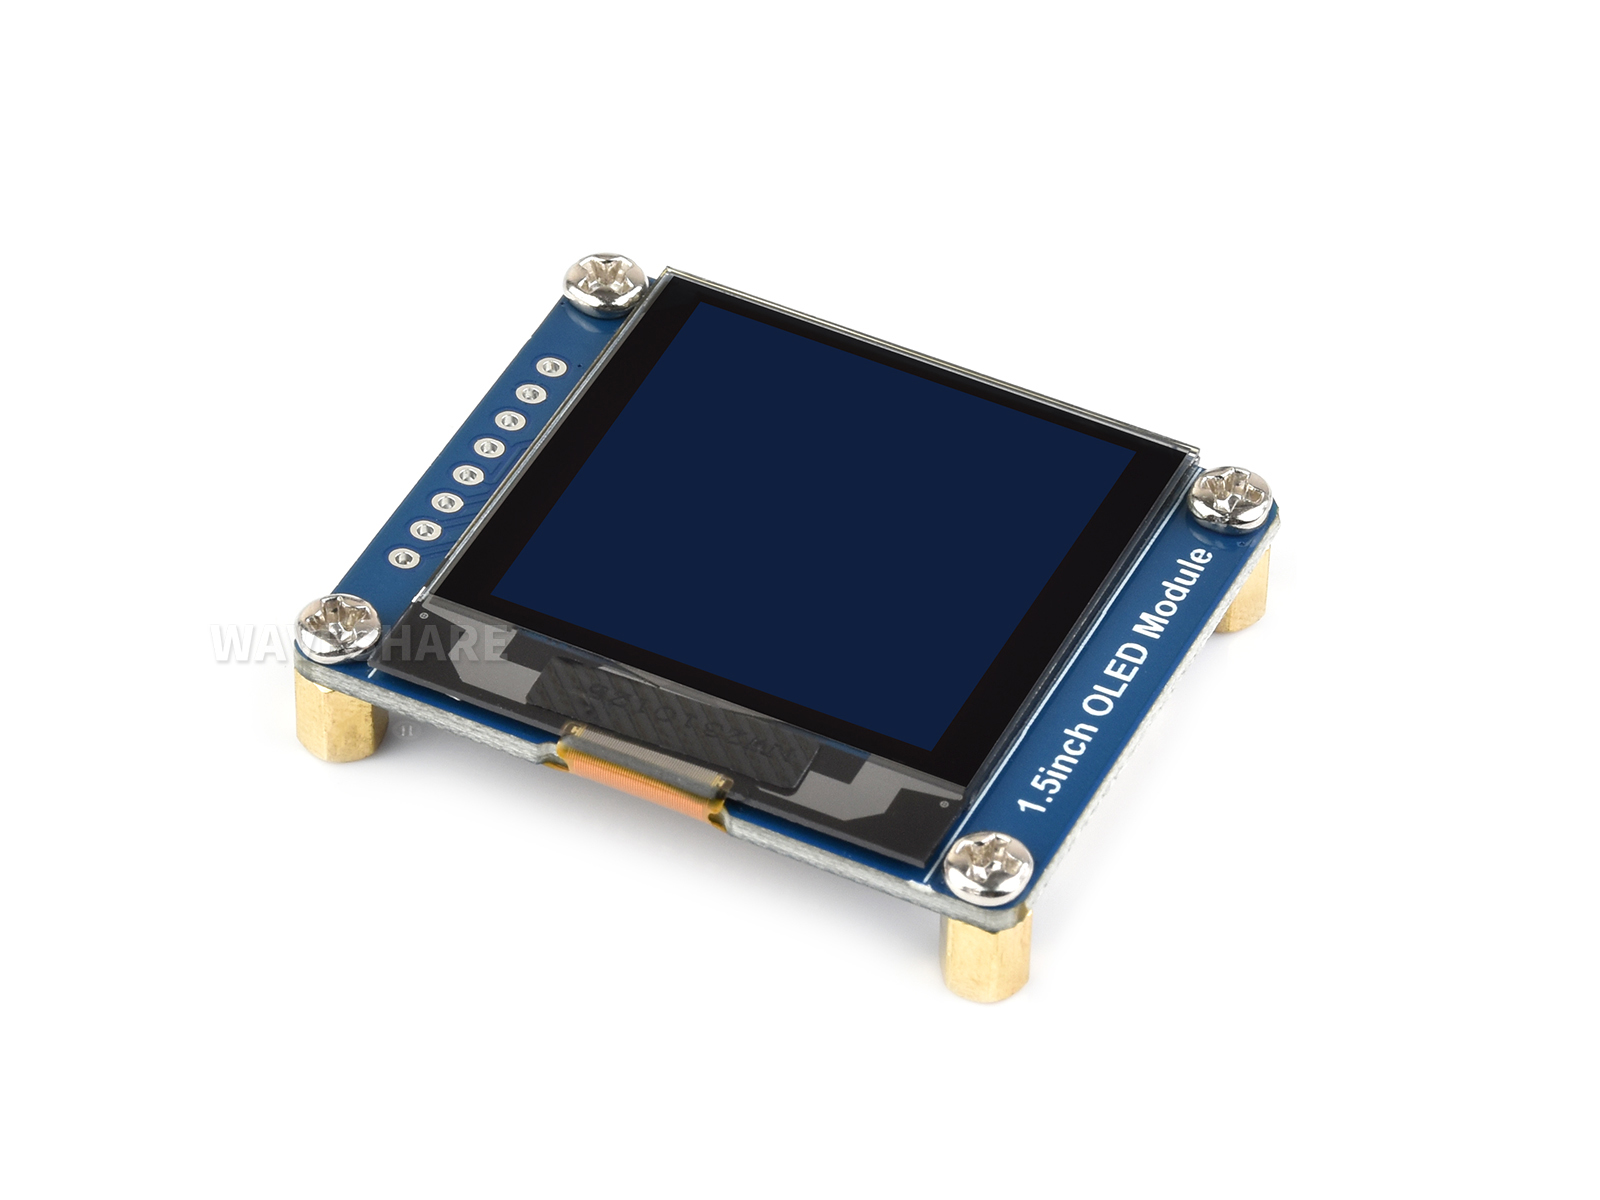
基于HAL库的OLED驱动方法 (SPI)

Contents
本文以STM32L496为例介绍如何在HAL库下驱动OLED
写在前面
网络上也有不少用HAL库的工程,但实验并未成功,目前也没有想清楚为什么,此处仅介绍成功的一种驱动方法
核心部分
CSDN,淘宝找到一个用HAL库的工程:
核心完全是GPIO口的配置,在oled.c文件内存在一个OLED_Init()函数,这里面会对GPIO口重新配置,所以不仅仅是改oled.h文件那里对引脚的重定义
假设在Cube里配置成和这里一样,然后注释掉这里,理论上应该能行,但保险起见还是别这样
最方便的就是别改,就按着给定连线就行,马上就能用
为了能够增加灵活性我将这里进行了修改,以后只需要在Cube里定义好同样的别名就行了
void OLED_Init(void)
{

  GPIO_InitTypeDef GPIO_InitStruct;

  /* GPIO Ports Clock Enable */
  __HAL_RCC_GPIOH_CLK_ENABLE();
  __HAL_RCC_GPIOA_CLK_ENABLE();
  __HAL_RCC_GPIOC_CLK_ENABLE();
  __HAL_RCC_GPIOD_CLK_ENABLE();
  __HAL_RCC_GPIOB_CLK_ENABLE();
	OLED_SCLK_Set();
	OLED_SDIN_Set();
	OLED_CS_Set();
	OLED_RST_Set();
	OLED_DC_Set();
	LED_ON;

  /*Configure GPIO pins*/
  GPIO_InitStruct.Pin = SCK_Pin;
  GPIO_InitStruct.Mode = GPIO_MODE_OUTPUT_PP; //这里和spi.c里面还是不一样
  GPIO_InitStruct.Pull = GPIO_PULLUP;
  GPIO_InitStruct.Speed = GPIO_SPEED_FREQ_HIGH;
  HAL_GPIO_Init(SCK_GPIO_Port, &GPIO_InitStruct);

    GPIO_InitStruct.Pin = SDA_Pin;
  GPIO_InitStruct.Mode = GPIO_MODE_OUTPUT_PP; //这里和spi.c里面还是不一样
  GPIO_InitStruct.Pull = GPIO_PULLUP;
  GPIO_InitStruct.Speed = GPIO_SPEED_FREQ_HIGH;
  HAL_GPIO_Init(SDA_GPIO_Port, &GPIO_InitStruct);

    GPIO_InitStruct.Pin = OLED_CS_Pin;
  GPIO_InitStruct.Mode = GPIO_MODE_OUTPUT_PP; //这里和spi.c里面还是不一样
  GPIO_InitStruct.Pull = GPIO_PULLUP;
  GPIO_InitStruct.Speed = GPIO_SPEED_FREQ_HIGH;
  HAL_GPIO_Init(OLED_CS_GPIO_Port, &GPIO_InitStruct);

  GPIO_InitStruct.Pin = LD2_Pin;
  GPIO_InitStruct.Mode = GPIO_MODE_OUTPUT_PP;
  GPIO_InitStruct.Pull = GPIO_NOPULL;
  GPIO_InitStruct.Speed = GPIO_SPEED_FREQ_LOW;
  HAL_GPIO_Init(GPIOB, &GPIO_InitStruct);

  GPIO_InitStruct.Pin = OLED_RST_Pin;
  GPIO_InitStruct.Mode = GPIO_MODE_OUTPUT_PP;
  GPIO_InitStruct.Pull = GPIO_PULLUP;
  GPIO_InitStruct.Speed = GPIO_SPEED_FREQ_HIGH;
  HAL_GPIO_Init(OLED_RST_GPIO_Port, &GPIO_InitStruct);

  /*Configure GPIO pin : PtPin */
  GPIO_InitStruct.Pin = OLED_DC_Pin;
  GPIO_InitStruct.Mode = GPIO_MODE_OUTPUT_PP;
  GPIO_InitStruct.Pull = GPIO_PULLUP;
  GPIO_InitStruct.Speed = GPIO_SPEED_FREQ_HIGH;
  HAL_GPIO_Init(OLED_DC_GPIO_Port, &GPIO_InitStruct);

	OLED_RST_Clr();
	HAL_Delay(200);
	OLED_RST_Set();

	OLED_WR_Byte(0xAE,OLED_CMD);//--turn off oled panel
	OLED_WR_Byte(0x00,OLED_CMD);//---set low column address
	OLED_WR_Byte(0x10,OLED_CMD);//---set high column address
	OLED_WR_Byte(0x40,OLED_CMD);//--set start line address  Set Mapping RAM Display Start Line (0x00~0x3F)
	OLED_WR_Byte(0x81,OLED_CMD);//--set contrast control register
	OLED_WR_Byte(0xCF,OLED_CMD);// Set SEG Output Current Brightness
	OLED_WR_Byte(0xA1,OLED_CMD);//--Set SEG/Column Mapping     0xa0左右反置 0xa1正常
	OLED_WR_Byte(0xC8,OLED_CMD);//Set COM/Row Scan Direction   0xc0上下反置 0xc8正常
	OLED_WR_Byte(0xA6,OLED_CMD);//--set normal display
	OLED_WR_Byte(0xA8,OLED_CMD);//--set multiplex ratio(1 to 64)
	OLED_WR_Byte(0x3f,OLED_CMD);//--1/64 duty
	OLED_WR_Byte(0xD3,OLED_CMD);//-set display offset	Shift Mapping RAM Counter (0x00~0x3F)
	OLED_WR_Byte(0x00,OLED_CMD);//-not offset
	OLED_WR_Byte(0xd5,OLED_CMD);//--set display clock divide ratio/oscillator frequency
	OLED_WR_Byte(0x80,OLED_CMD);//--set divide ratio, Set Clock as 100 Frames/Sec
	OLED_WR_Byte(0xD9,OLED_CMD);//--set pre-charge period
	OLED_WR_Byte(0xF1,OLED_CMD);//Set Pre-Charge as 15 Clocks & Discharge as 1 Clock
	OLED_WR_Byte(0xDA,OLED_CMD);//--set com pins hardware configuration
	OLED_WR_Byte(0x12,OLED_CMD);
	OLED_WR_Byte(0xDB,OLED_CMD);//--set vcomh
	OLED_WR_Byte(0x40,OLED_CMD);//Set VCOM Deselect Level
	OLED_WR_Byte(0x20,OLED_CMD);//-Set Page Addressing Mode (0x00/0x01/0x02)
	OLED_WR_Byte(0x02,OLED_CMD);//
	OLED_WR_Byte(0x8D,OLED_CMD);//--set Charge Pump enable/disable
	OLED_WR_Byte(0x14,OLED_CMD);//--set(0x10) disable
	OLED_WR_Byte(0xA4,OLED_CMD);// Disable Entire Display On (0xa4/0xa5)
	OLED_WR_Byte(0xA6,OLED_CMD);// Disable Inverse Display On (0xa6/a7)
	OLED_WR_Byte(0xAF,OLED_CMD);
	OLED_Clear();
}
#define OLED_SCLK_Clr() HAL_GPIO_WritePin(SCK_GPIO_Port, SCK_Pin, GPIO_PIN_RESET);//CLK
#define OLED_SCLK_Set() HAL_GPIO_WritePin(SCK_GPIO_Port, SCK_Pin, GPIO_PIN_SET);

#define OLED_SDIN_Clr() HAL_GPIO_WritePin(SDA_GPIO_Port, SDA_Pin, GPIO_PIN_RESET)//DIN
#define OLED_SDIN_Set() HAL_GPIO_WritePin(SDA_GPIO_Port, SDA_Pin, GPIO_PIN_SET)

#define OLED_RST_Clr() HAL_GPIO_WritePin(OLED_RST_GPIO_Port, OLED_RST_Pin, GPIO_PIN_RESET)//RST
#define OLED_RST_Set() HAL_GPIO_WritePin(OLED_RST_GPIO_Port, OLED_RST_Pin, GPIO_PIN_SET)

#define OLED_DC_Clr() HAL_GPIO_WritePin(OLED_DC_GPIO_Port, OLED_DC_Pin, GPIO_PIN_RESET)//DC
#define OLED_DC_Set() HAL_GPIO_WritePin(OLED_DC_GPIO_Port, OLED_DC_Pin, GPIO_PIN_SET)

#define OLED_CS_Clr()  HAL_GPIO_WritePin(OLED_CS_GPIO_Port, OLED_CS_Pin, GPIO_PIN_RESET)//CS
#define OLED_CS_Set()  HAL_GPIO_WritePin(OLED_CS_GPIO_Port, OLED_CS_Pin, GPIO_PIN_SET)
在Cube里面将对应的引脚重命名为SDA, SCK, OLED_CS, OLED_DC, OLED_RST,并使能spi就可以了


个性化
如果一直放在while循环里循环显示,则会阻塞到其它功能
其实只需要show一次即可
HAL_Delay(500);
OLED_Clear();
OLED_ShowNum(103,48,24,3,16); // show num 24
OLED_Refresh();
103,48 是坐标;3是位数,表示显示的是024;16是字号大小
注意,字号只有16,24,32,64,分别对应于oledfont.h的Hzk1~4
用取模软件得到字符,放入Hzk数组其中即可,可参考其几个Show函数的实现